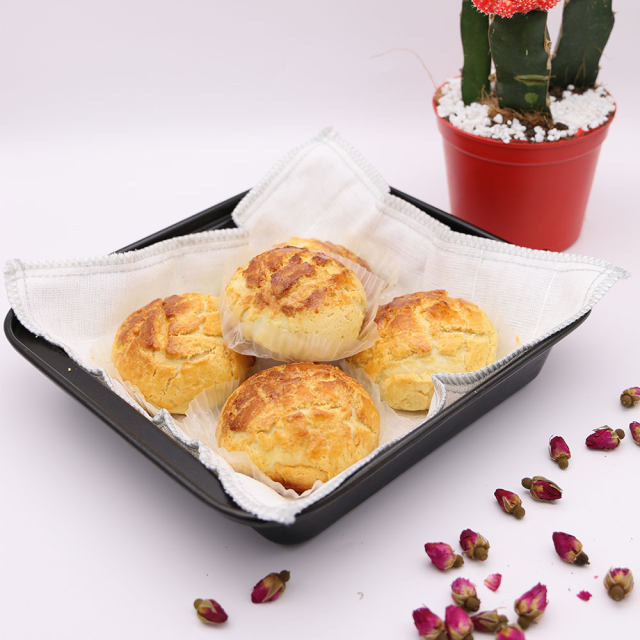
Hong Kong style pineapple buns
2024-10-20 14:58:54 919

A classic Hong Kong style pineapple bun, paired with a cup of coffee or warm milk, loved and satisfied! It's good for breakfast or afternoon tea Dim sum!
Details of ingredients
Technique
Steps to make Hong Kong style pineapple buns
- 1. First, come up with a beautiful finished product image. Paired with my bonsai, it's super beautiful!
![]() 2. First, put the two ingredients of the soup into a milk pot, heat it over low heat and stir continuously until it becomes a paste. Set aside!
2. First, put the two ingredients of the soup into a milk pot, heat it over low heat and stir continuously until it becomes a paste. Set aside!![]() 3. Remove the bread maker and add the soup seeds and dough materials other than butter to the bread maker. Start the bread maker and stir the dough program for about 15 minutes.
3. Remove the bread maker and add the soup seeds and dough materials other than butter to the bread maker. Start the bread maker and stir the dough program for about 15 minutes.![]() 4. Add butter to continue the kneading process.
4. Add butter to continue the kneading process.![]() 5. Restart the dough kneading program and wait for 5 minutes to allow the dough to have good stretchability. It can be pulled out into a thin film shape.
5. Restart the dough kneading program and wait for 5 minutes to allow the dough to have good stretchability. It can be pulled out into a thin film shape.![]() 6. Put the dough into a bowl and ferment it in warm water in winter.
6. Put the dough into a bowl and ferment it in warm water in winter.![]() 7. Fermentation to double the size, takes 45 minutes in winter and about half an hour in summer!
7. Fermentation to double the size, takes 45 minutes in winter and about half an hour in summer!![]() 8. Prepare the pineapple bun puff pastry ingredients.
8. Prepare the pineapple bun puff pastry ingredients.![]() 9. Put the pineapple bun puff pastry material into the bread maker, start the kneading process and knead it into dough. Refrigerate for half an hour.
9. Put the pineapple bun puff pastry material into the bread maker, start the kneading process and knead it into dough. Refrigerate for half an hour.![]() Next, we will divide the refrigerated pineapple puff pastry into 15 portions. Take out the fermented dough and let it vent appropriately. Divide it into 15 equal parts, knead them round, cover them, and let them sit together for 20 minutes.
Next, we will divide the refrigerated pineapple puff pastry into 15 portions. Take out the fermented dough and let it vent appropriately. Divide it into 15 equal parts, knead them round, cover them, and let them sit together for 20 minutes.![]() 11. We flatten the pineapple puff pastry with our palms, take the loose dough, hold the puff pastry with one hand, and gently press the dough with the other hand to make it stick more tightly to the puff pastry and gradually wrap it all around, then knead it appropriately.
11. We flatten the pineapple puff pastry with our palms, take the loose dough, hold the puff pastry with one hand, and gently press the dough with the other hand to make it stick more tightly to the puff pastry and gradually wrap it all around, then knead it appropriately.![]() 12. We can do it one by one.
12. We can do it one by one.![]() 13. Then put it in the oven for a second fermentation to double its size, for about 30 minutes. Then brush a layer of egg mixture on the surface. Finally, bake in the oven at 180 degrees Celsius for 20 minutes. Each oven brand has different sizes. The temperature and time set are also different.
13. Then put it in the oven for a second fermentation to double its size, for about 30 minutes. Then brush a layer of egg mixture on the surface. Finally, bake in the oven at 180 degrees Celsius for 20 minutes. Each oven brand has different sizes. The temperature and time set are also different.- 14. Take out the perfect finished product image!
- I had breakfast and was very satisfied.
- 16. Finished product drawings.


