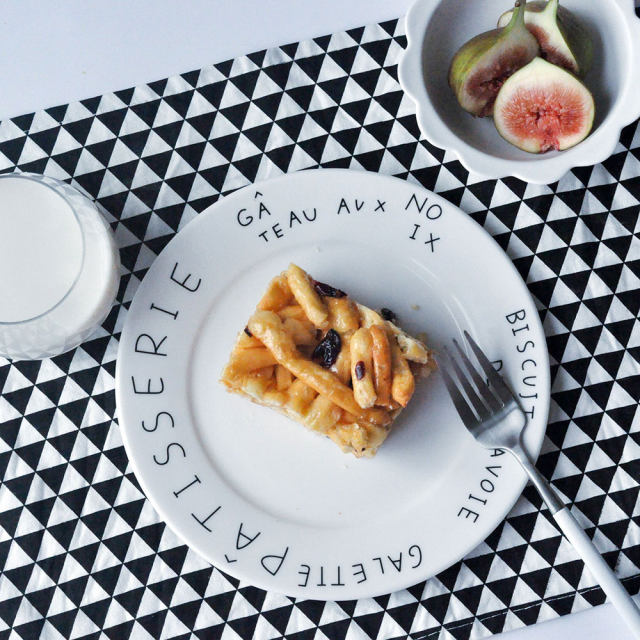
Cranberry Sachima
2024-09-09 14:59:13 341

Sachima, also known as Saqima, is a kind of Manchu food. It was one of the sacrifices offered by the Three Mausoleums of the Qing Dynasty, originally meaning "dog milk dipped in sugar". After frying the noodles, mix them into small pieces with sugar. Saqima has won people's love for its soft and sweet texture, which melts in the mouth. I have loved eating since I was young. Actually, it's not difficult to make it myself, and it's guaranteed to be better than what's sold.
Details of ingredients
Technique
Steps to make Cranberry Sachima
![]() 1. Prepare materials.
1. Prepare materials.![]() 2. Pour flour, baking powder, and eggs into the bread machine bucket.
2. Pour flour, baking powder, and eggs into the bread machine bucket.![]() 3. Turn on the bread machine and dough program for 10 minutes. If you don't have a bread machine, you can manually knead the dough. The kneading process may be a bit sticky, so apply some corn starch to your hands to prevent sticking.
3. Turn on the bread machine and dough program for 10 minutes. If you don't have a bread machine, you can manually knead the dough. The kneading process may be a bit sticky, so apply some corn starch to your hands to prevent sticking.![]() 4. After kneading into a smooth dough, take it out.
4. After kneading into a smooth dough, take it out.![]() 5. Cover with a glass bowl or plastic wrap and let it sit for 1 hour. Allow sufficient time for the dough to settle, which is beneficial for rolling it out later.
5. Cover with a glass bowl or plastic wrap and let it sit for 1 hour. Allow sufficient time for the dough to settle, which is beneficial for rolling it out later.![]() 6. Roll the dough open and roll it to a thickness of 3-4 millimeters.
6. Roll the dough open and roll it to a thickness of 3-4 millimeters.![]() 7. Cut into small strips and sprinkle a little cornstarch inside to prevent sticking.
7. Cut into small strips and sprinkle a little cornstarch inside to prevent sticking.![]() 8. Pour oil into the pot and heat until it is 7% cooked.
8. Pour oil into the pot and heat until it is 7% cooked.![]() 9. Deep fry the Sachima strip until it is light yellow, remove it for standby
9. Deep fry the Sachima strip until it is light yellow, remove it for standby![]() 10. The fried Sachima strips taste great when eaten alone.
10. The fried Sachima strips taste great when eaten alone.![]() 11. Take an 8-inch square mold with a movable bottom and brush a layer of corn oil on the inner wall of the mold for easy demolding in the later stage.
11. Take an 8-inch square mold with a movable bottom and brush a layer of corn oil on the inner wall of the mold for easy demolding in the later stage.![]() 12. Pour water, sugar, and maltose into a pot and simmer slowly over low heat, stirring occasionally to prevent the bottom from sticking and the appearance of sticky bubbles.
12. Pour water, sugar, and maltose into a pot and simmer slowly over low heat, stirring occasionally to prevent the bottom from sticking and the appearance of sticky bubbles.![]() 13. At this time, pour the Sachima strips and cranberries into the pot, stir constantly, and try to make each Sachima strip stick with syrup.
13. At this time, pour the Sachima strips and cranberries into the pot, stir constantly, and try to make each Sachima strip stick with syrup.![]() 14. Quickly pour the Sachima strip mixed with syrup into the mold, cover it with oil paper, press it hard to make it as tight as possible to ensure flatness.
14. Quickly pour the Sachima strip mixed with syrup into the mold, cover it with oil paper, press it hard to make it as tight as possible to ensure flatness.![]() 15. After shaping, remove the mold while it is still warm, let it cool, and then cut it into pieces to enjoy.
15. After shaping, remove the mold while it is still warm, let it cool, and then cut it into pieces to enjoy.


